The requests module allows you to create, manage and edit your requests or the requests of your users.
1. Summary:
This section shows the list of all petitions, at the top you can see the number of requests, petitions, petitions approved and the total number of signatures.
.png)
The elements of the view:
 |
This is the ID of the request. |
 |
This is the date the petition request was made. |
 |
The name of the request. |
 |
It is the name of the person who created the request. |
 |
This is the status of the request, it can be Pending, approved, finished or rejected. |
 |
Clicking on this option takes you to the edition and details of the selected request. |
 |
You can also use the search engine that is on the upper left side, to search for the requests. |
 |
With the date filter, you can filter requests based on the date you choose. |
By clicking on the three points you will be able to see all the details of the petition, in the dashboard, you will see the graph of the signatures and the data of the user who created the petition:
.png)
On that screen below you will see 3 boxes which have the following information:
In the Signatures option, all the signatures that a request has are displayed, in Actions you will see the number of actions in the request, including the number of emails received by the targets, in Bounce , are the emails that could not be received , this can happen due to a misspelled or non-existent email address.
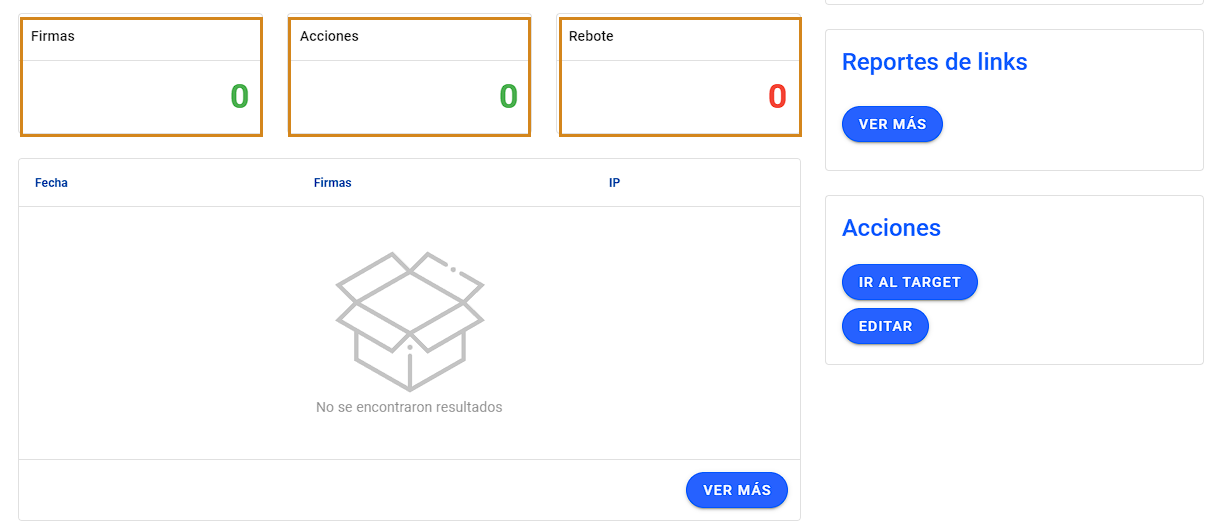
In the link reports, you can see all the URLs where they clicked to sign the petition, generally it shows the URL of the website where the petition form is.
Actions:
| 1 |  |
They are the people who are configured so that they receive an email every time a signature happens. |
| two |  |
In edit, the mail that the targets receive is configured. |
1. Clicking on target will take you to the next view.
.png)
In this option, by clicking on the + icon you can add your first target, where you must add information on Name, position, Institution, Emails, Telephone and a Check box where you activate or deactivate the target. To save, just click on the save icon.
2. In the edit option, you configure the mail that your targets will receive, here you can use a pre-built template, start with a blank design or use an afrus template:
.png)
If you don't configure the mail of the targets, they will not receive the notification email of the signatures.
Here is the information of the creator of the request:
.png)
In petition detail, you can edit all the information of the petition, such as the title, description, the image of the petition, the date, the number of signatures as a goal and the link of the video.
.png)
In interactions the Signatories of the petition are shown, in the Donations section you can see those who could become donors after signing and in Updates.
It also has an Export option, to be able to export the database of the petition's signatories.
.png)
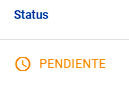
In this upper right section is the status that allows you to approve the request, by default it remains PENDING, once you have reviewed all the parameters you can change the status to APPROVED, simply by clicking on it and choosing the option.
.png)
Request filters:
 |
They are those requests that you made with your email from your afrus account. |
 |
They are those requests that have not yet been approved or rejected. |
 |
They are all the requests that you have approved. |
 |
They are those petitions that have finished, either because you finished the petition or because it reached the necessary signatures that you established as a limit. |
 |
They are all, the requests that have been rejected. |
In the upper right bar, next to the status of the petition, there are three points where it shows the Edit option, this takes you to the edition of the petition and Configure Signatory Email, takes you to configure the email that the signing user receives the petition.
.png)
When you click on Configure Signatory Email, you are redirected to create the email that the people who sign the petition will receive:
.png)
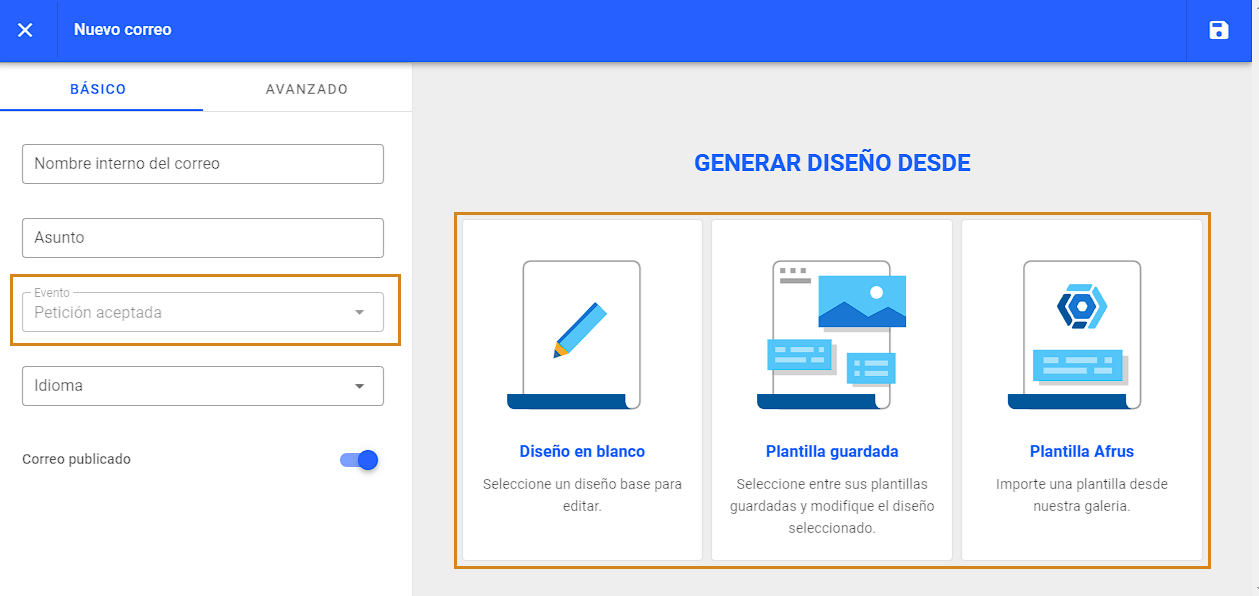
In the internal name of the mail and Subject you can add the information corresponding to the mail that you want the people who make a signature to receive, on the right side you can see the previously created templates or templates from the afrus gallery and also a blank template, where you can layout the email from scratch .
2. Requests
In this section you can see all the requests for requests, in the boxes that are located in the upper right part you can see all the requests in pending status and next to them the rejected ones, just below there is a button to Create request, which goes direct you to the box for creating a new request.
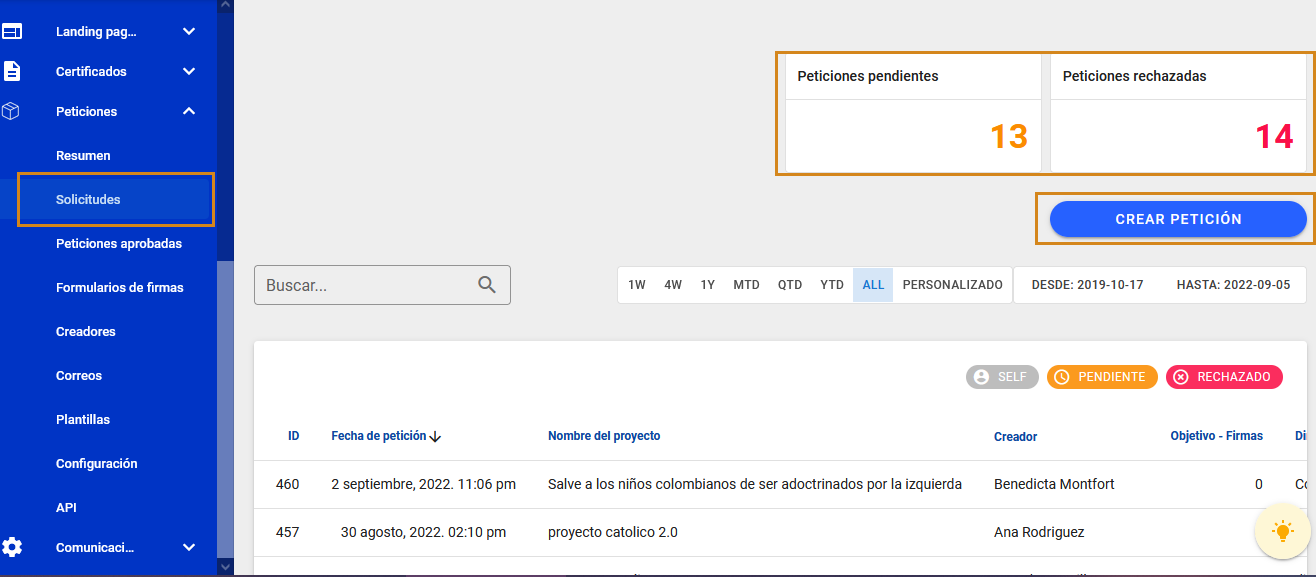
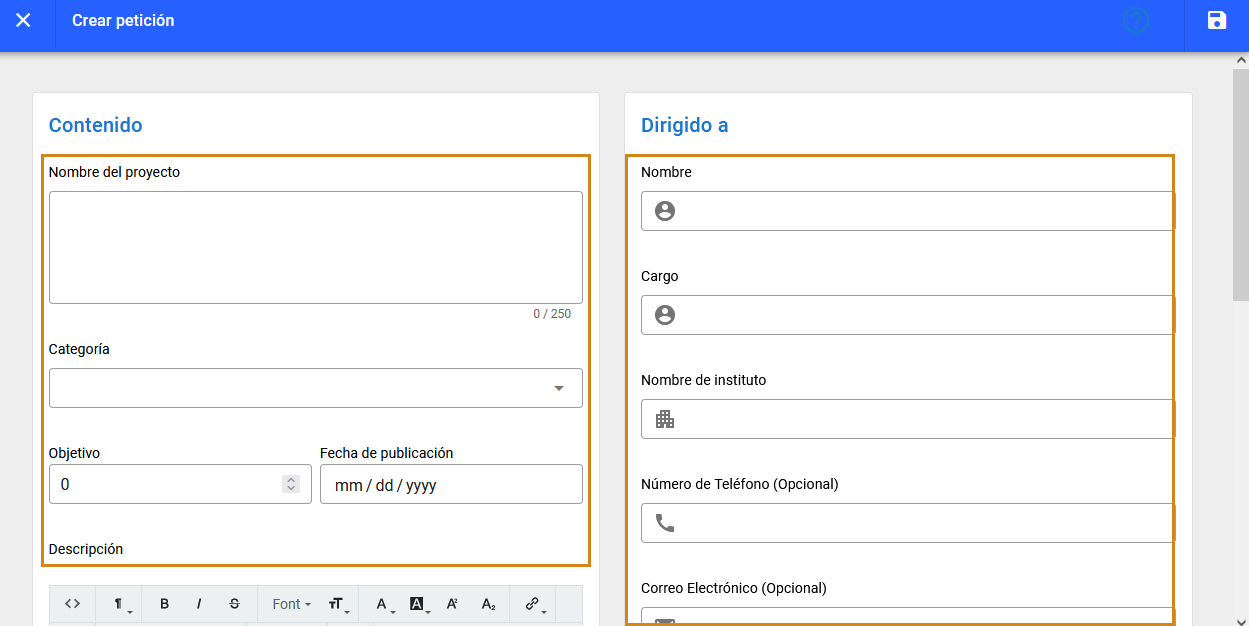
Create Petition:
In the Content box, you can add the name of the project, the category, the objective, which is the number of signatures that are needed (once this objective is reached, the petition is finished), the publication date and the description of the petition. petition.
In the Addressed to box, you put the data of the first target (person to whom the request is addressed), the name, position, Name of the institute, Telephone number and the email with which the target will receive the email defined for the targets of the request.
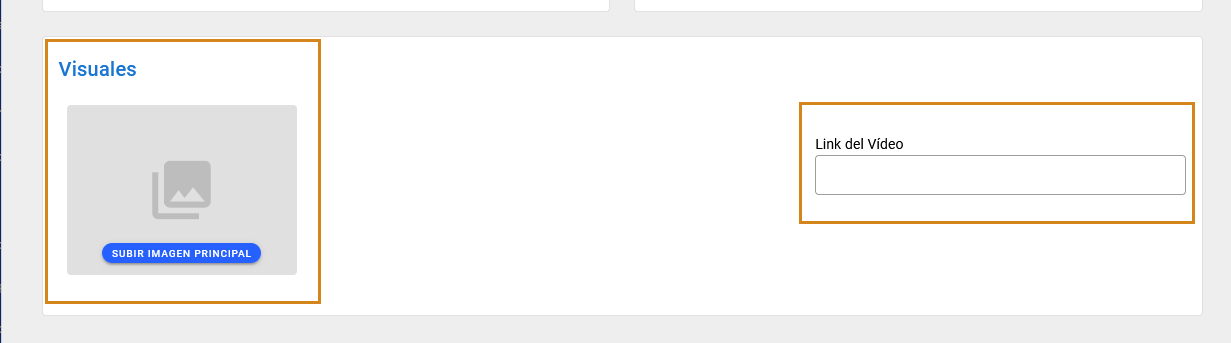
In the Visuals section, we add the main image and in the video link, the URL of the video that you want to add to your request is placed.
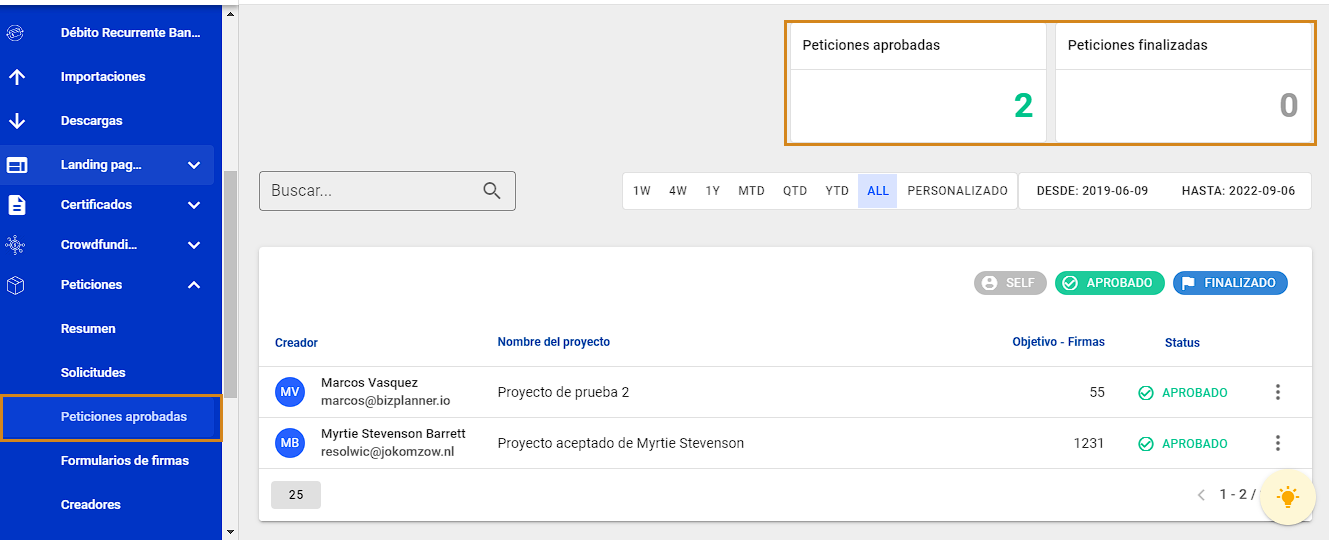
3. Approved Petitions
In this section we can see all the requests that have been approved, on the upper right side we can also see a box where all the requests that have been completed are seen.
4. Signature form
In this section you can edit the form with which users will sign your requests (bear in mind that it is the same form for all requests).
.png)
By clicking on the editing pencil, you can display the form that you will use to collect the signatures of your petition, it is important that you put a title and description that encourage the signing of your petition, the edition of the form is like any lead form .
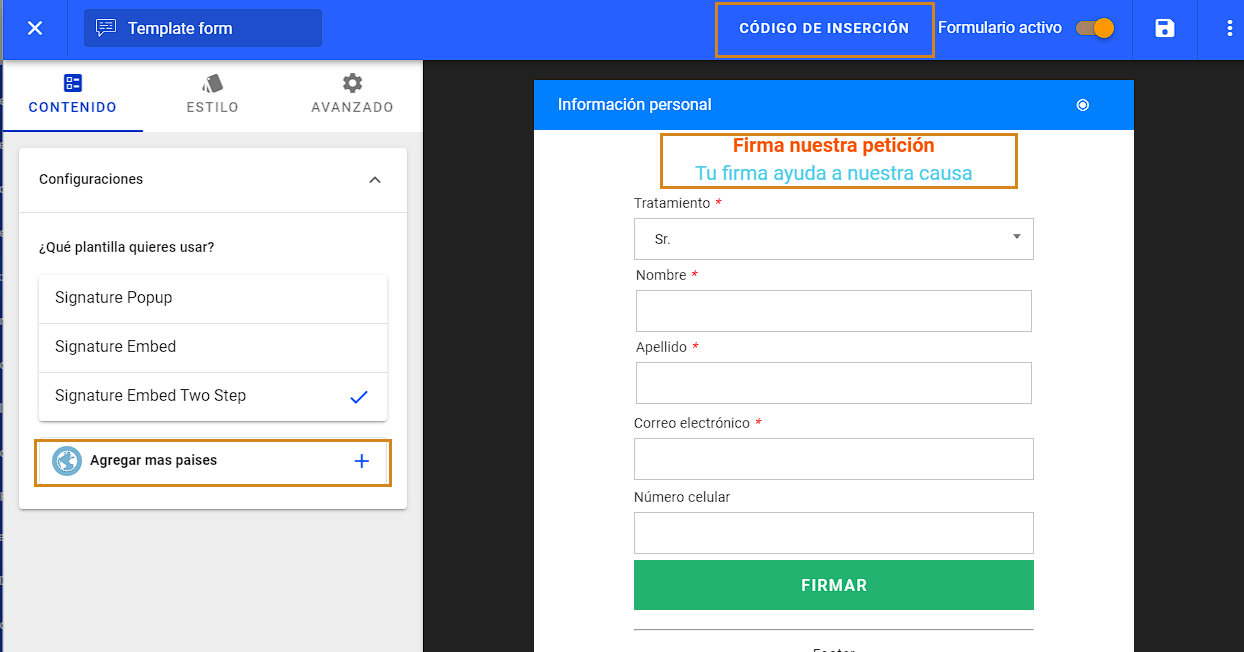
In the Insertion code part you can take the script code that you will install on the web, where your users will make the signatures.
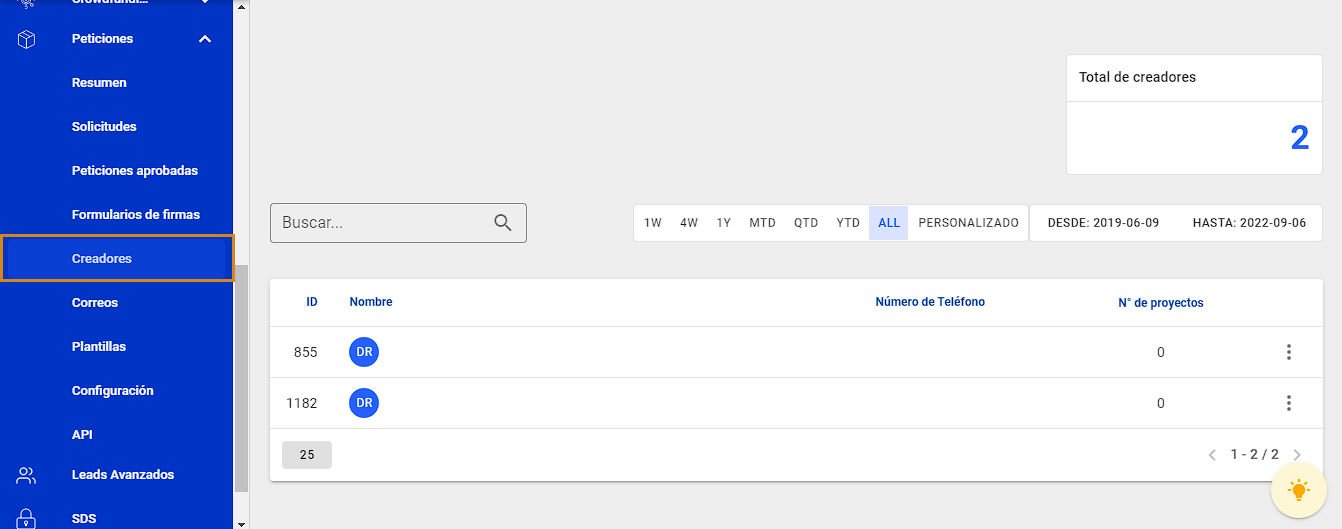
5. Creators
This section shows the list of all the people who have created petitions:
6. Mail
In this section, all the emails related to the events described in the upper boxes are configured, such as the Welcome Email, Acceptance Email, Signers Email and Password Recovery.
.png)
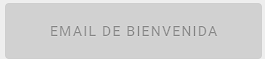 |
The Welcome Email is the one that users receive after registering. |
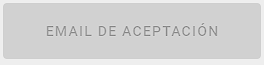 |
The Request Email is the one that users receive when their request has been accepted. |
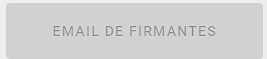 |
The Signatories email is the one received by the signatories, after signing a petition. |
 |
The email to recover password is the one used by the user, to be able to change their password through a button that arrives in the email. |
To configure an email for the events of the request, you just have to click on the active boxes, when there is no email configured, the box will turn color, when there is already an email configured for the event, it will be gray:
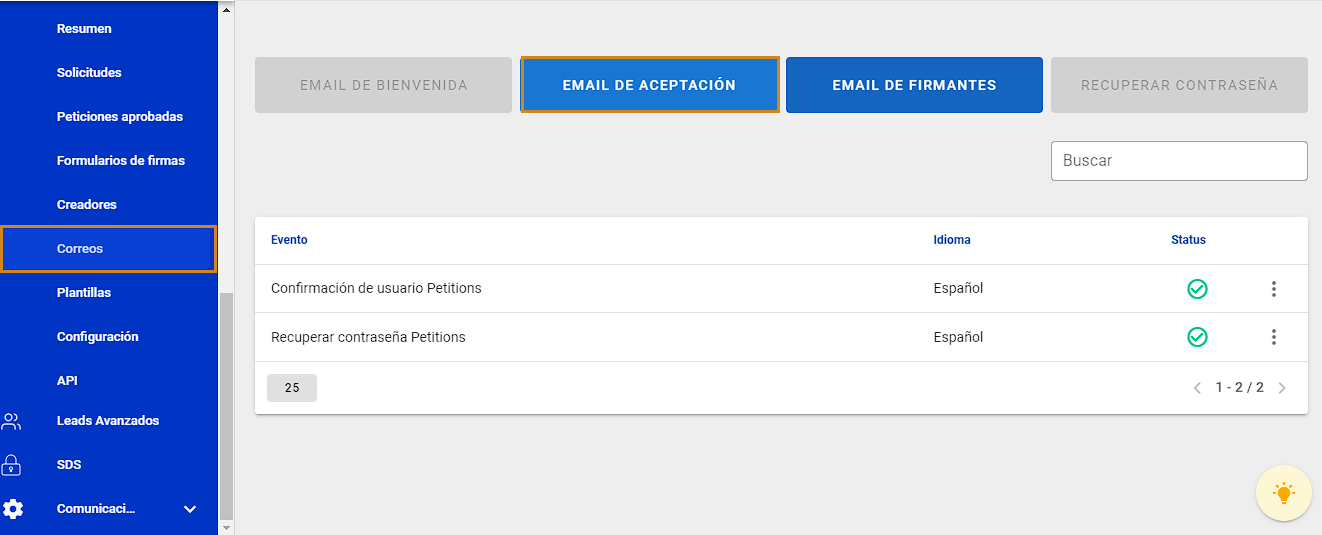
By clicking on the email you want to configure, the email box will open, which is created as we explained in point 1 of this guide. It is important to make sure that the email you are going to create is for the Event you want to configure. For example, the email the user receives when their request is approved:
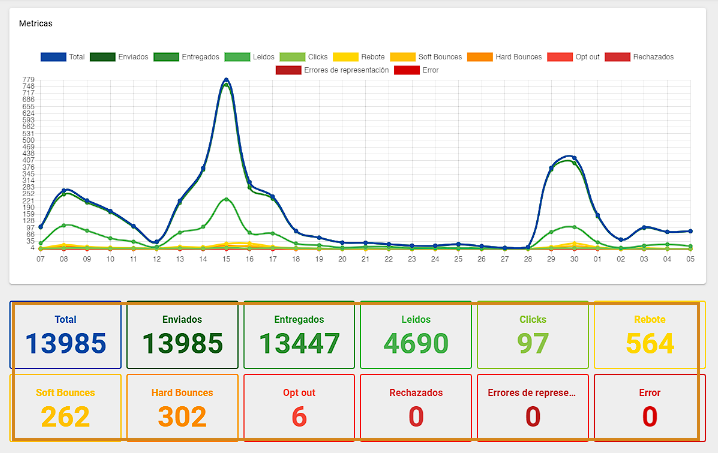
Email metrics dashboard:
By clicking on any of the emails you will be able to see the delivery metrics and details of the email:
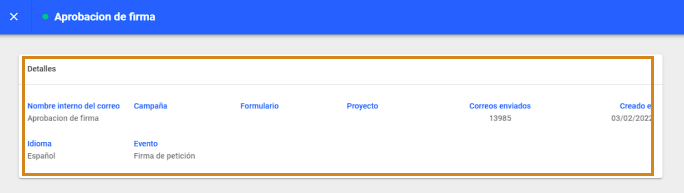
Below you can see the data and graphs of the email events you selected:
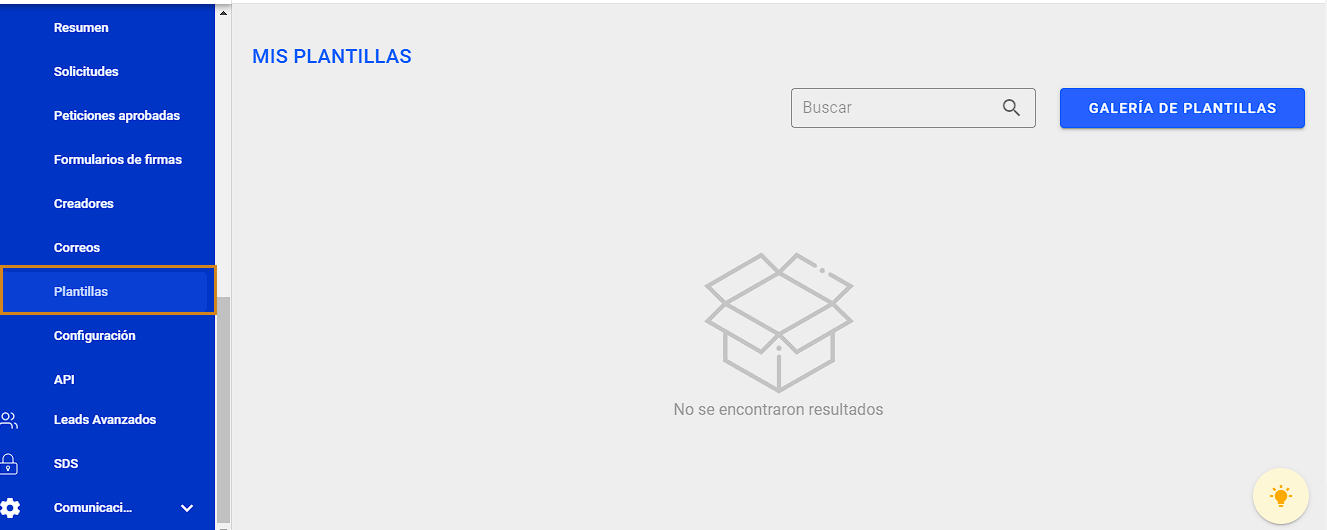
7. Templates
Here you can pre-create event emails, you can also create various templates to use depending on the type of request you want to make.
Keep in mind that the event emails are the same for all requests, except for the target emails, which can be different in each Request and the email received by the user, after signing.
8. Configuration
From this section you can configure the Amazon AWS accounts created for sending emails, keep in mind that the email account of notifications and email of the target must be different, this in order to prevent Amazon AWS, from low to the account for improper use of its services, separating the mailings by different accounts, avoid this problem.
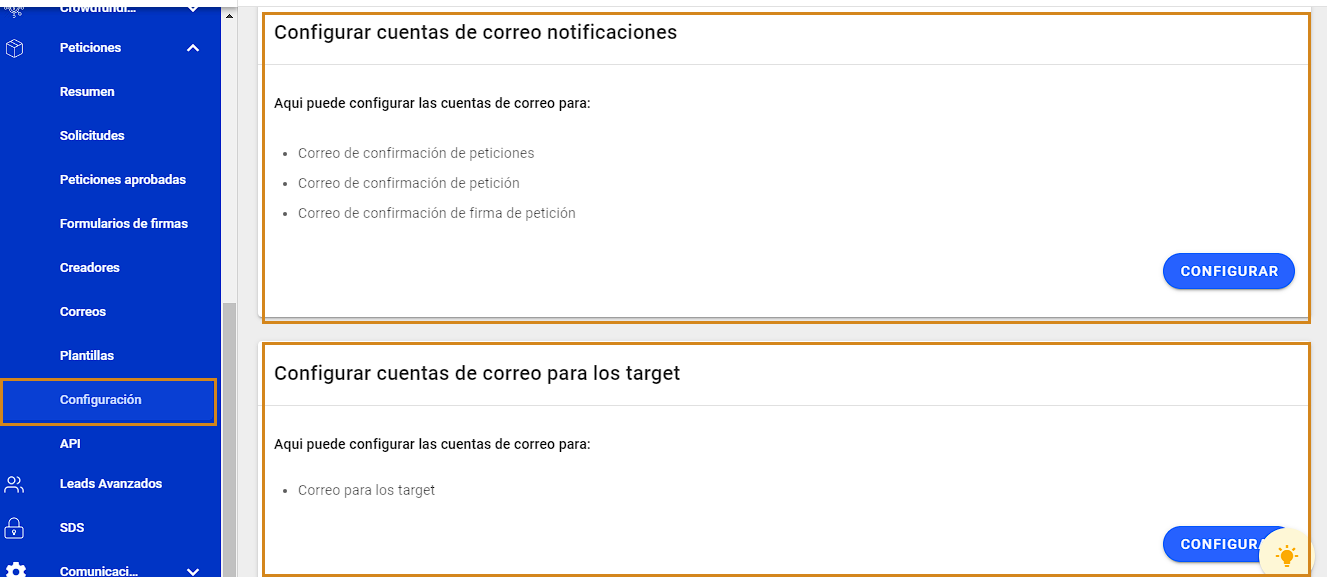
By clicking on the configure button, you can add the data previously taken from your Amazon AWS account:
.png)
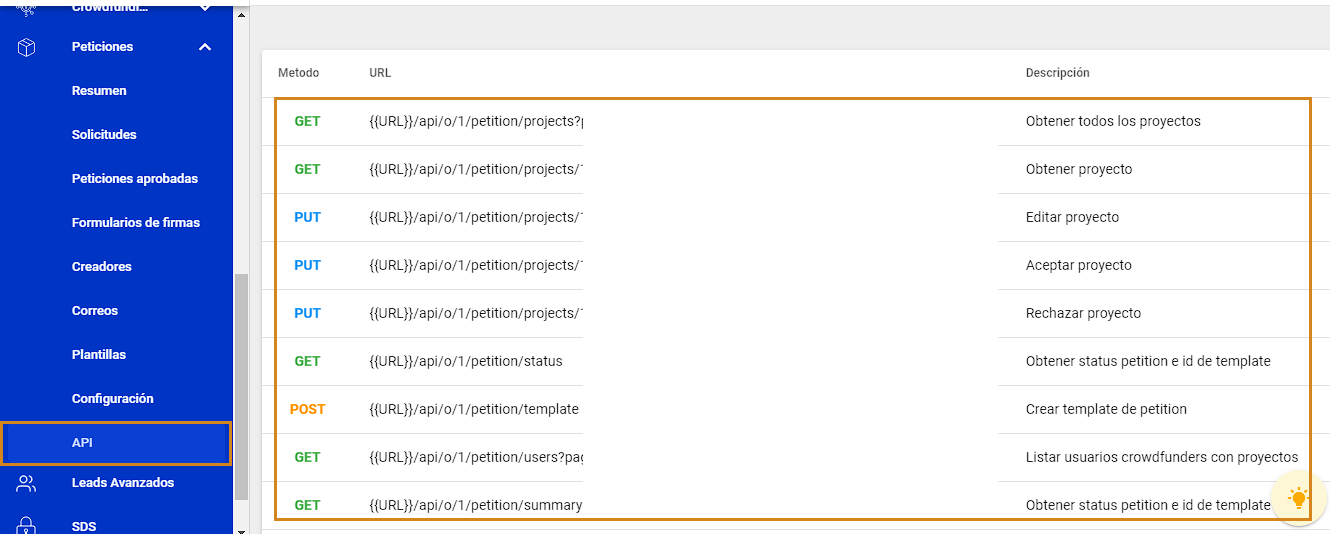
9. API
Here you can find the afrus API information to help developers to connect this module with their web project for the creation of requests.