
afrus.app allows you to tag your database, by creating tags that align with the attributes or characteristics you need.
- All leads that have entered a specific lead form or that have registered from a country, or that have a language or come from a specific Facebook campaign.
- All one-time donors who have donated with a credit card or all recurring donors who have donated a specific amount.
- All people in the database that have specific attributes.
- or you can simply assign previously created tags to your donors or leads.
There are 4 ways to tag your database
1. Label individually [Person Section]
1. To do this you must enter the PEOPLE section, where you must search for the person you are going to tag.
%201.11.38%20p.%C2%A0m..png)
2. Click on the person to enter Contact Information > Tags:
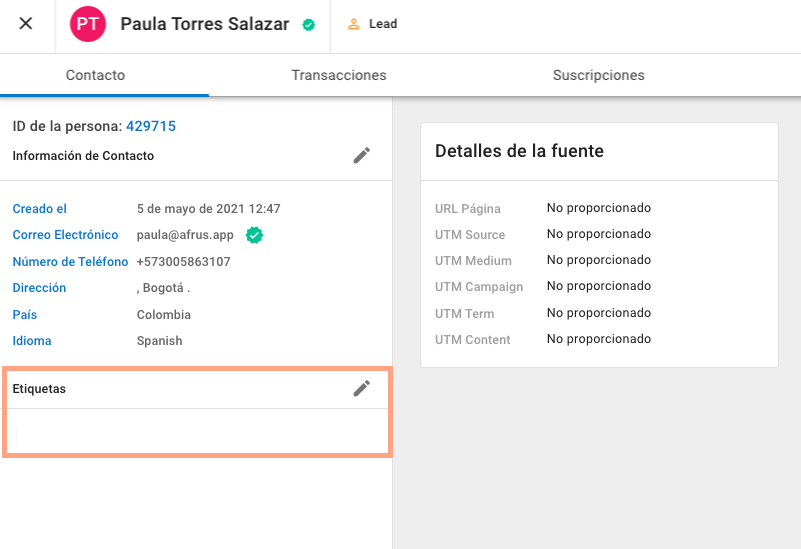
3. Then, click on the editor pencil to create or assign tags:
%201.15.01%20p.%C2%A0m..png)
4. When you click, the following screen will open, go to the bottom, where you will see the title TAGS:
%201.16.49%20p.%C2%A0m..png)
%201.17.00%20p.%C2%A0m..png)
5. If you want to assign a tag, you just have to click on the right date to display the list and click on the check box in front of each tag to activate it:
%201.21.09%20p.%C2%A0m..png)
%201.21.49%20p.%C2%A0m..png)
6. Finally you will see that the tag is now activated, now you must click save to finish assigning the tag: %201.24.31%20p.%C2%A0m..png)
2. Tag from the [Segments Section]
1. For this process you must go to the segments section.
%201.37.19%20p.%C2%A0m..png)
2. Here you can generate the segments you need to build, depending on the attributes you require.
3. You can create search types by types of people, transactions or subscriptions, select the search you prefer:
%201.42.00%20p.%C2%A0m..png)
4. You can generate a search for people who meet any or all of the predetermined segments, it is not mandatory to choose all of them:
%201.41.27%20p.%C2%A0m..png)
5. For example, to find people who have made a one-time donation from Colombia that corresponds to a specific campaign, you would configure it as follows:
- Search for all the people who meet the personal data, "Country":
%201.43.19%20p.%C2%A0m..png)
- Then, select type of donation, to then define the search for "one-time donation": %201.44.46%20p.%C2%A0m..png)
-Then, select campaign: %201.47.26%20p.%C2%A0m..png)
6. Now you must configure each selected segment with the corresponding information:
%201.48.25%20p.%C2%A0m..png)
7. When the information is configured, click SEARCH:
%201.49.22%20p.%C2%A0m..png)
8. Then, you will see the result of your search.
%201.51.17%20p.%C2%A0m..png)
9. You can tag your result in bulk by clicking on TAG:
- If you have a previously created tag, select SELECT TAG:
- If you want to create a new tag, select CREATE LABEL:
%201.55.21%20p.%C2%A0m..png)
10. Finally, select the corresponding label, and click SAVE:
%201.58.16%20p.%C2%A0m..png)
3. Tag from the [Tags Section]
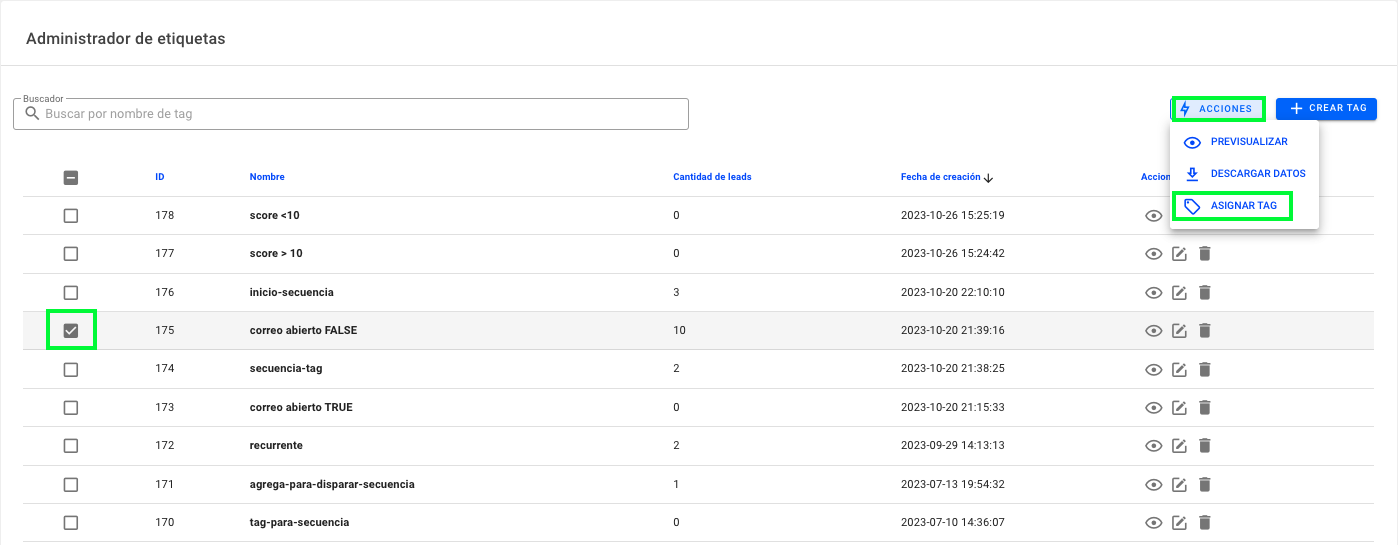
1. Go to the <Labels> section:
%209.47.07%20a.%C2%A0m..png)
2. Select the label of the group of people to which you want to add a new label.
Then click on the upper right button called <Actions> and in the menu that appears select, <Assign Tag>
Then, in the window that will open, you will see the drop-down option, so you can select the label you are going to reassign.

To finish click on SAVE.
4. Tag from [Imports]
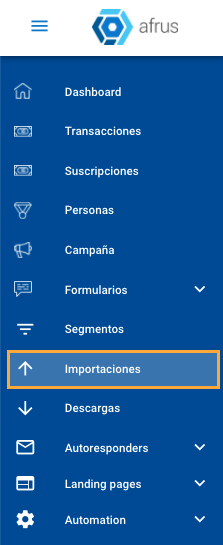
1. Go to the section where you want to import, either from the IMPORTS section
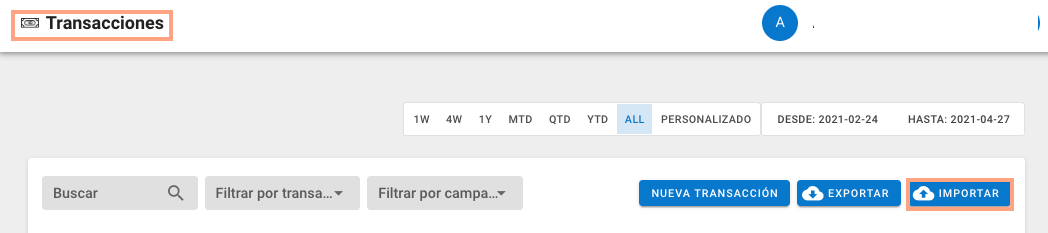
o You can go to the Transactions and/or People sections, clicking on the IMPORT button:

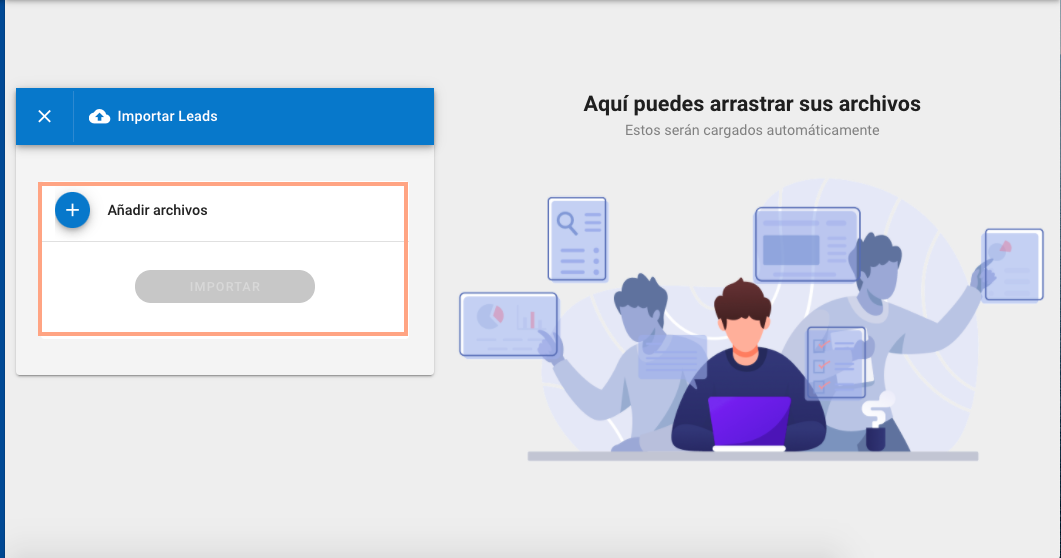
2. Then, you will be directed to the following screen, where you can upload or drag and drop the excel file with the data to import:
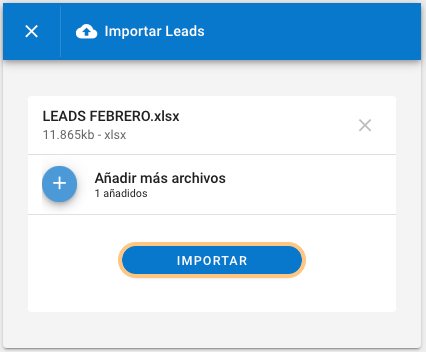
3. Once you have uploaded the file, you must confirm the file by clicking the IMPORT button:
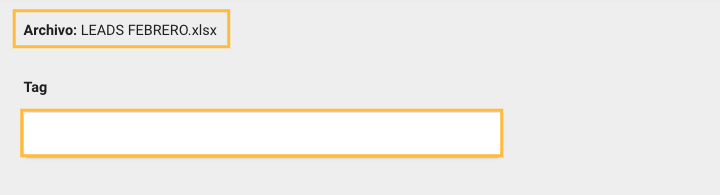
4. When you click on IMPORT, a screen will open where you will see the name of the file at the top, a space for you to add a TAG or LABEL to the entire database that you are going to import:
5. You continue with the import process, once the leads are imported, you will see that each person in your imported database will have the assigned tag.
%209.58.58%20a.%C2%A0m..png)
5. Tag from [Forms]
You can configure from afrus, the labeling from a specific form, this means that all the people who enter through that form will be saved in your database (people section) with the label you select.
1. Enter the forms section, and go to the 3 side points of the form you want to configure:
%2010.21.44%20a.%C2%A0m..png)
Then, click on the 3 dots and select the <Assign tag> option
%2010.23.16%20a.%C2%A0m..png)
Then, you will enter the screen where you will assign the label to the form:
%2010.25.19%20a.%C2%A0m..png)
Then select the tag(s) you want to activate in the form:
%2010.27.35%20a.%C2%A0m..png)