
The Automation module, which is located within the communications module, allows you to send Newsletter-type communications (Email Marketing) to your database, or a special segment.
The Newsletter Module will allow you to configure and send your email in 4 simple steps.
To start creating your Newsletter
You can see the following Video tutorial:
Step by step to create your newsletter or understand the module metrics:
How to send a newsletter?
1. Go to Communications > Newsletter > New.
%201.03.41%20p.%C2%A0m..png)
2. You must follow the following 4 steps, which are very easy and we will explain to you immediately:
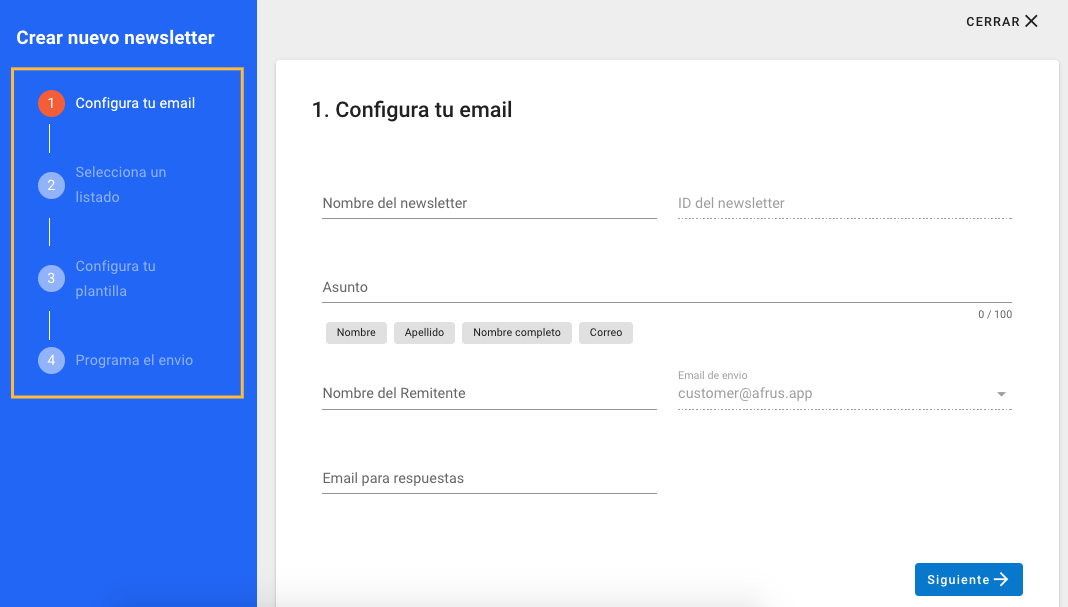
Step 1. Configure your email:
Here you must configure your email information such as:
| Newsletter name | Here you will enter a name with which you identify your newsletter. Ex: Communiqué #1 of 2021 |
| Affair | This is the subject your lead/donor will see in their inbox. To personalize it you can use the tags you find below the line Ex: {first_name} we have news for you |
| Sender name | It is the name of the sender that will appear in your lead/donor's inbox. Ex: Info afrus |
| Email for responses | The responses that respond through your newsletter will be sent to this email. You can configure the email you want without limit. |
2. Select the segment:
Here you must select the audience to whom you will send your newsletter.
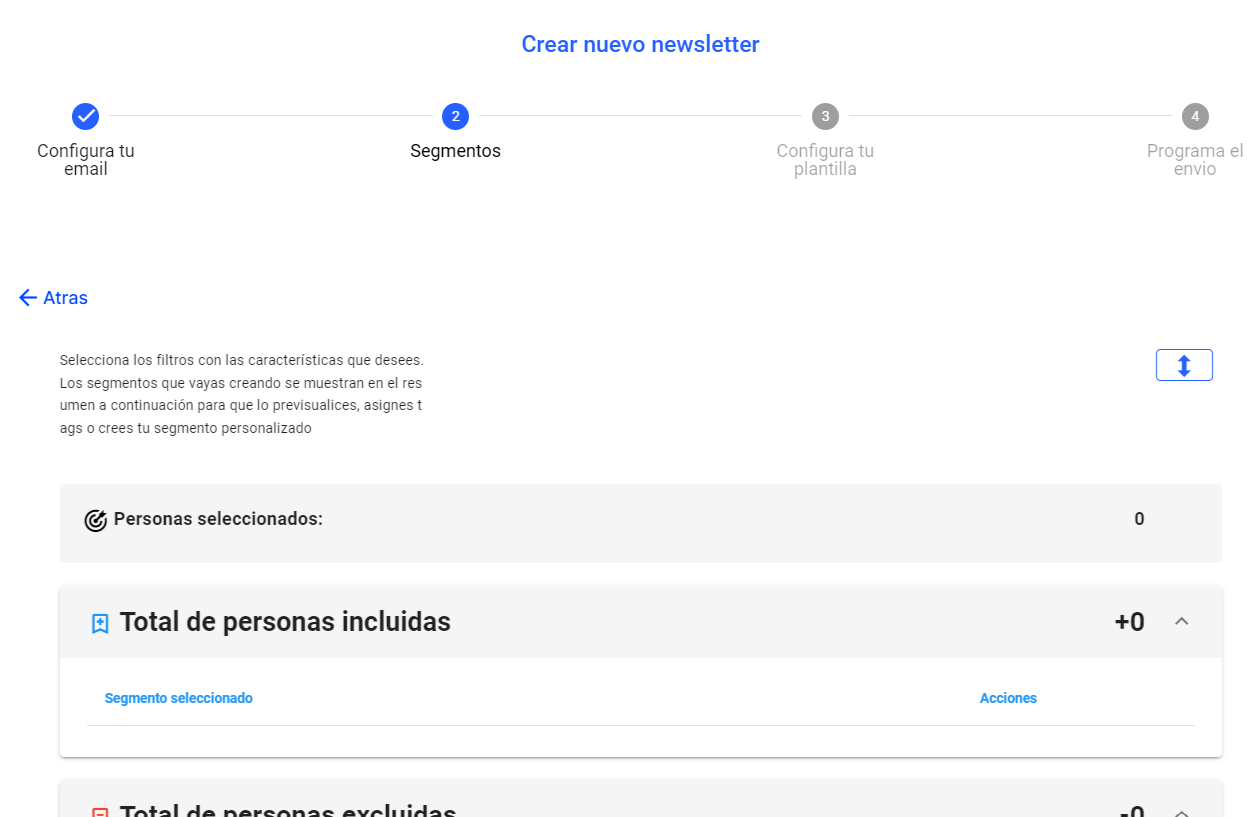
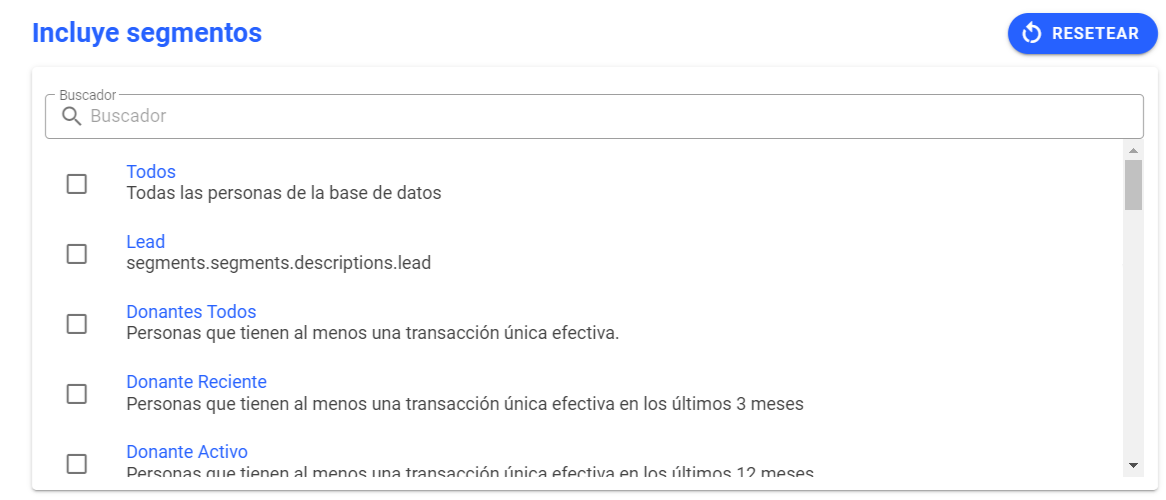
You have several criteria to choose from, you can include or exclude segments according to the organization's needs for sending the newsletter:
to. Send it to a group of people identified by the type of status they have in your databases, whether it is your Leads, donors or recurring.
b. Select a specific group with some characteristic, this group is identified by a label (Tag).
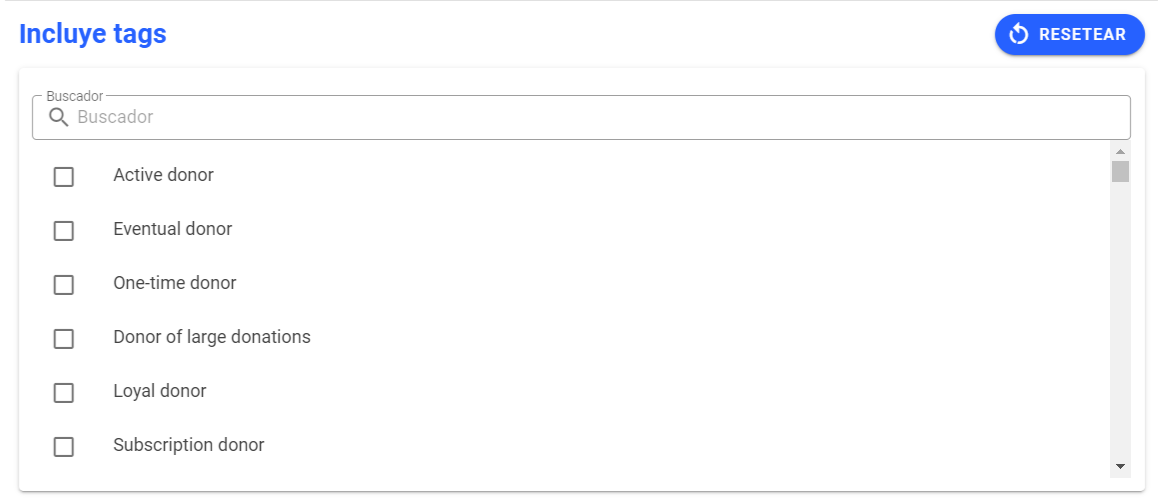
If you want to know how to segment your database with a tag, see the following manual: See manual
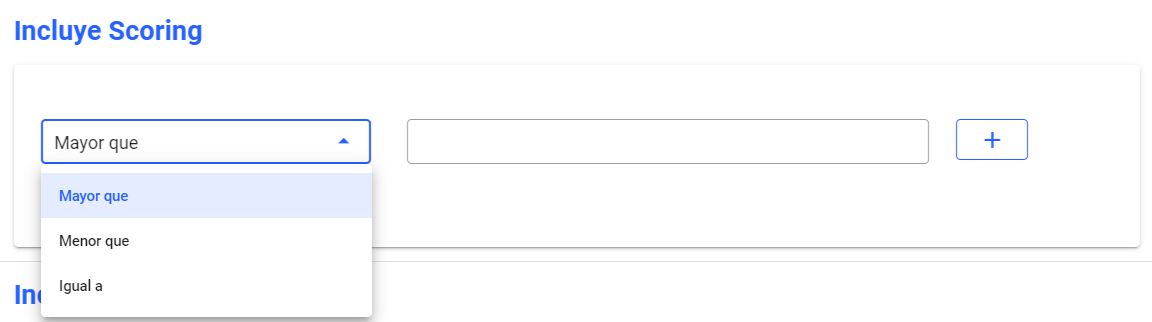
c. Select a specific group according to the scoring or score obtained
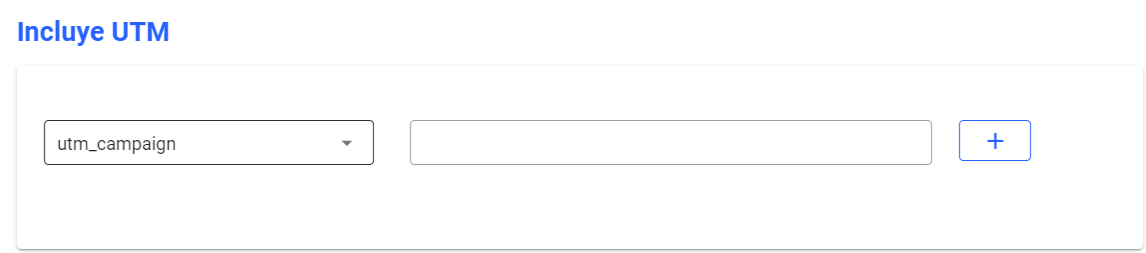
d. Include or exclude certain UTMs
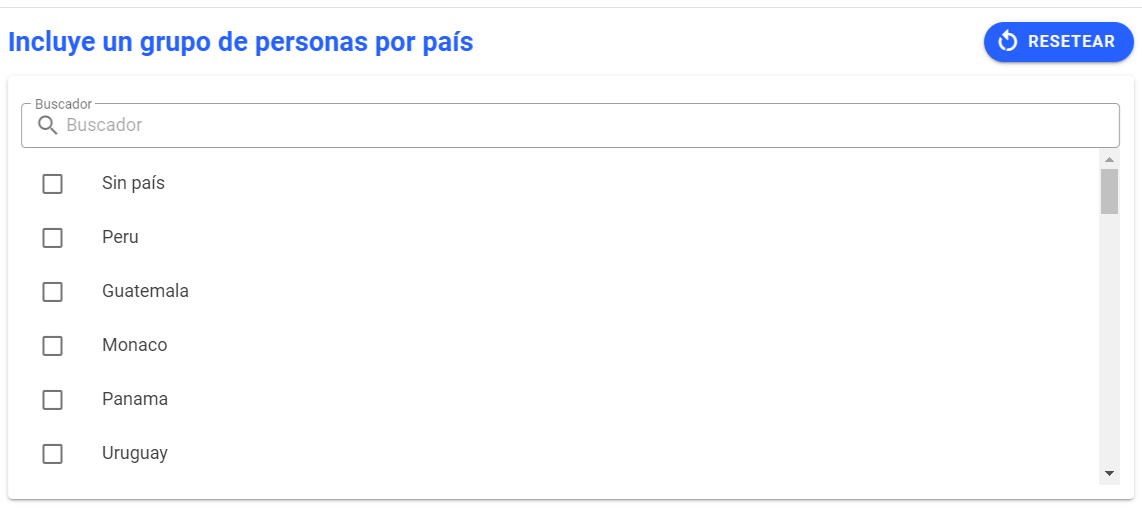
and. Select people according to the country of origin
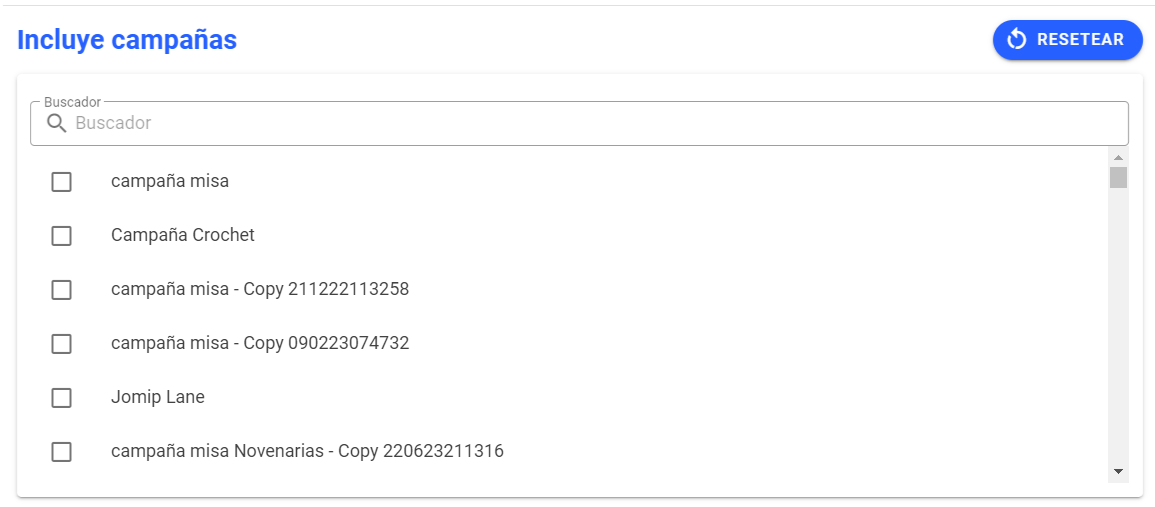
F. Select different campaigns so that only those within them receive the newsletter
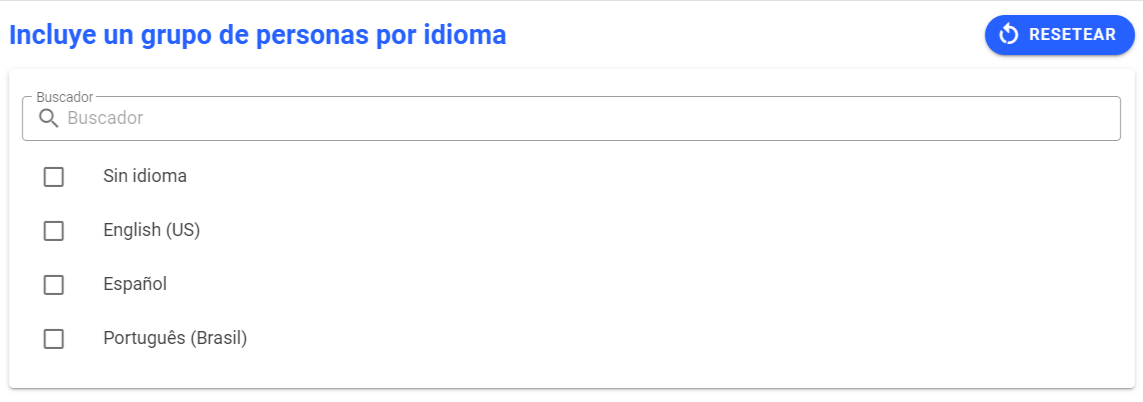
g. Select the language of the group of people to whom you want to send the newsletter
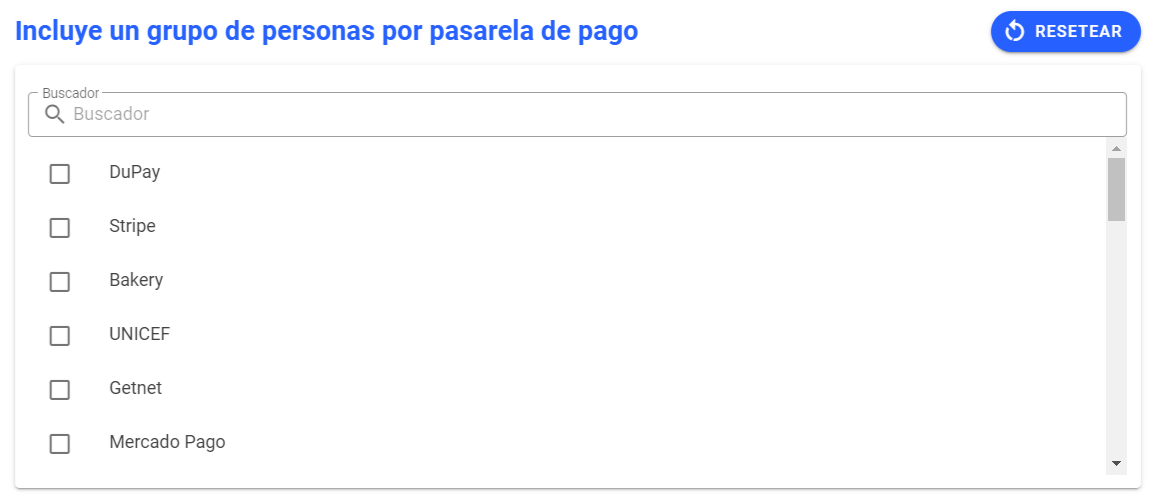
h. Select people through different payment gateways
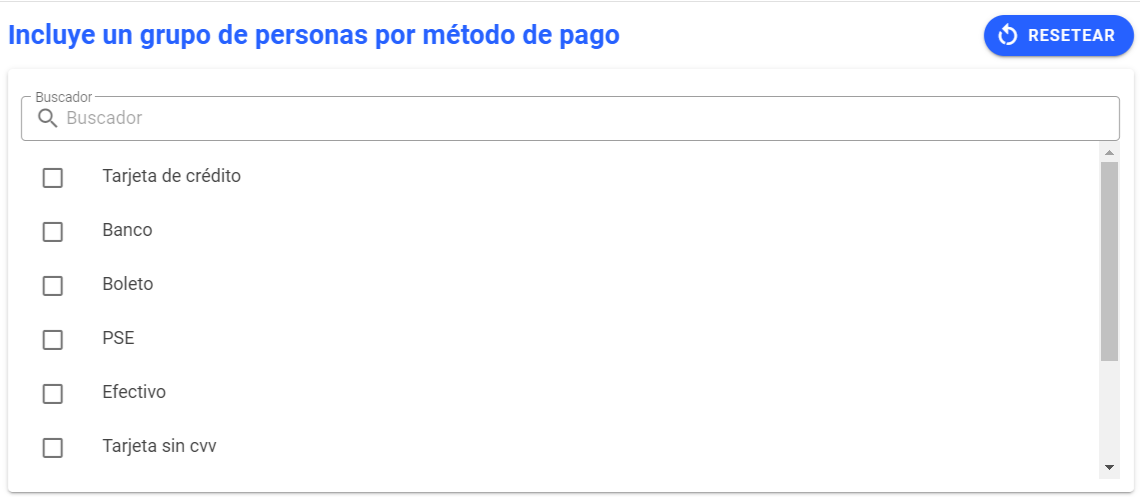
Yo. Select group of people by payment methods
j. You can select people by campaign code

3. Set up your template
Here you are going to create the design of your newsletter:
-You can choose a blank template to start from scratch.
-A previously created template
-or an afrus template that you can replace
%201.51.21%20p.%C2%A0m..png)
Any of the 3 will take you to the newsletter editor:
%201.54.11%20p.%C2%A0m..png)
This editor is very easy to use, it is DRAG ANS DROP type, that is, you drag and drop. To create the newsletter you must always create it from top to bottom as follows:
a. First, you must drag a Column (right panel) and drop in the center of the gray screen
%202.02.27%20p.%C2%A0m..png)
b. Second, you must drag the type of content you want, an image, a text, a button (right panel) and place it on top of the column, one by one so that you create the skeleton of your newsletter:
%202.06.43%20p.%C2%A0m..png)
c. Third, you create the content, upload images or logos, start writing the texts, adding colors and styles. (by clicking on each element in the newsletter)
How to put images or logos
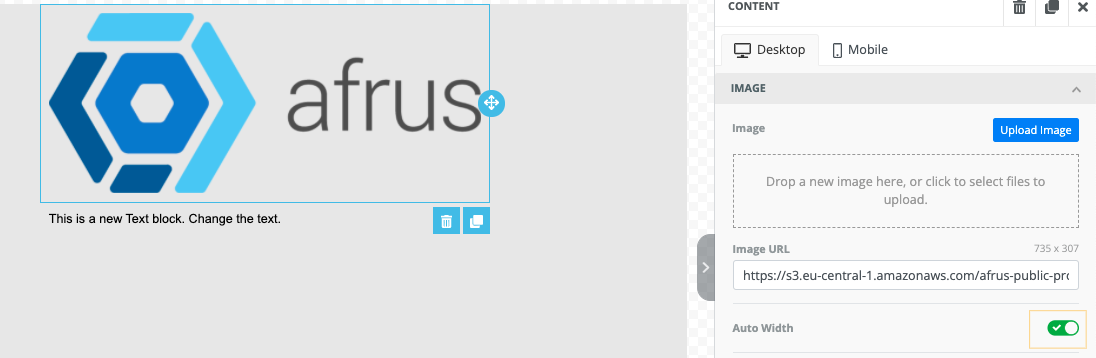
1. Select the image element, previously added to the template. When you select it, you will see the right side panel change, opening up other editing options:
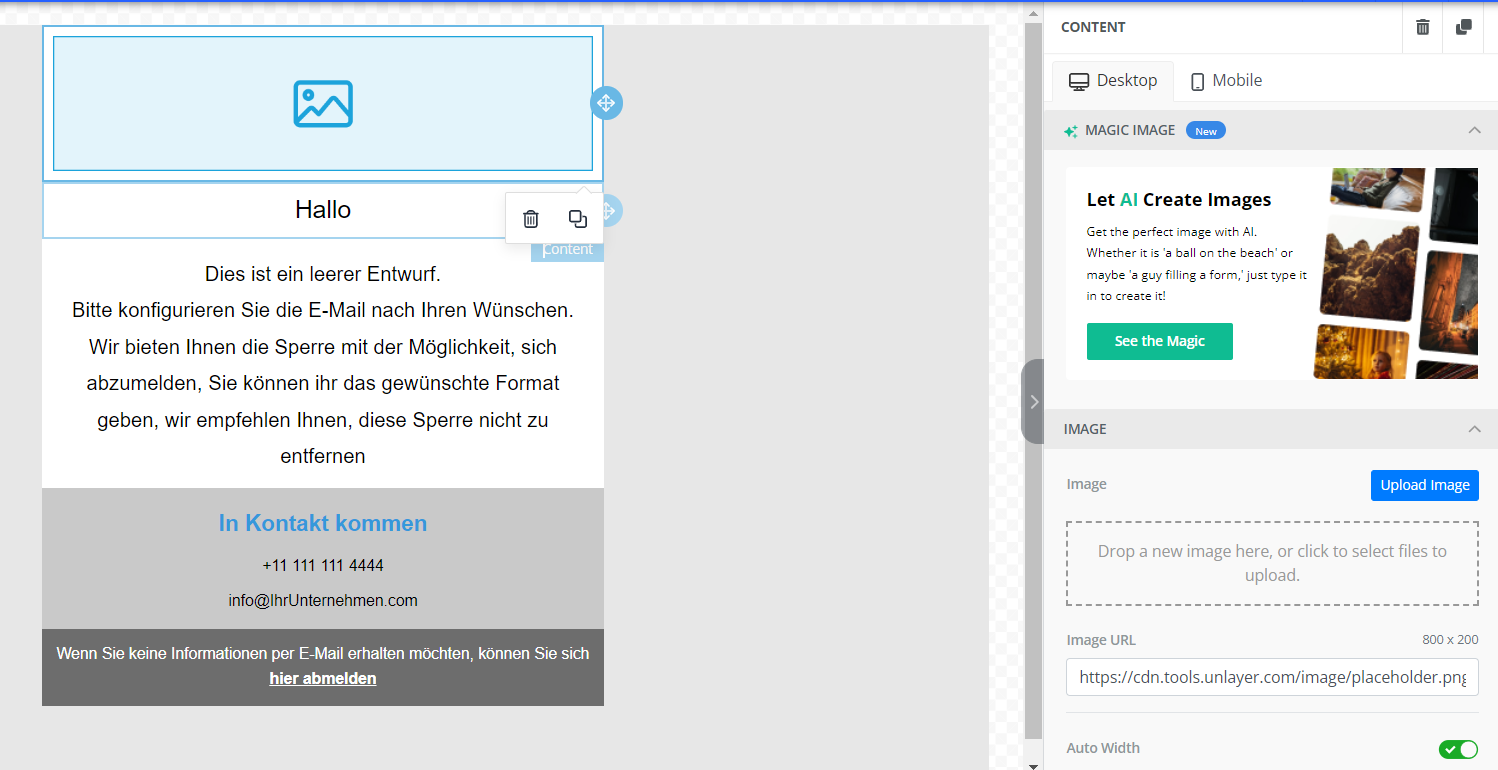
2. To upload an image, select the blue button called < Upload Image> or drag and drop into the green space:
%202.20.07%20p.%C2%A0m..png)
3. To change the size of the image, you must click on the green <auto width> button. When you click it, it will turn gray and immediately a blue bar will appear with a circle that, when moved, will determine the size:
%202.26.17%20p.%C2%A0m..png)
How to write a text
1. Select the text element, there you can write the text you want.
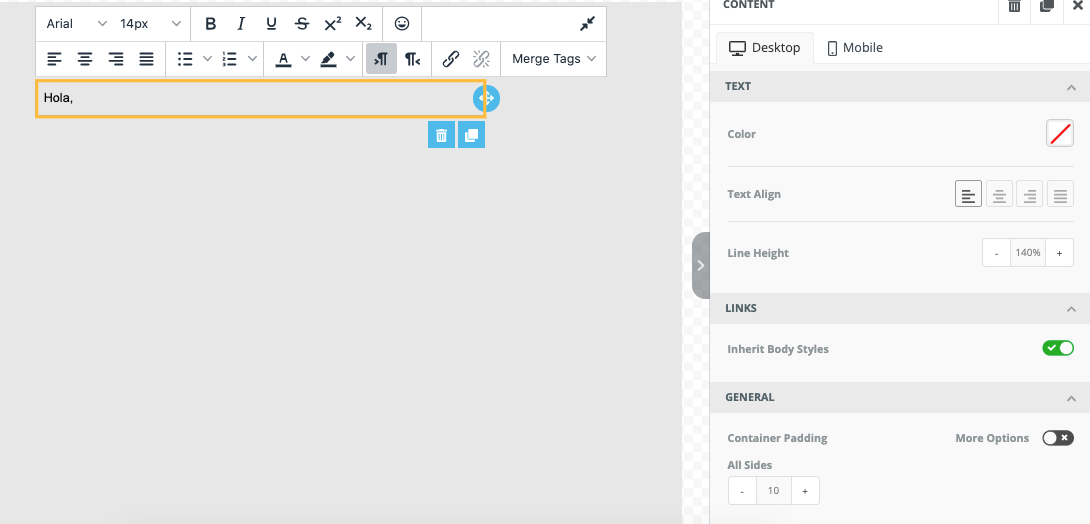
2. If you want to style your text, you will see that the text toolbar is displayed, where you can change the font, change the size, the style, add emoticons, alignment, bullets, change the color and add links to the texts :
%202.29.33%20p.%C2%A0m..png)
3. How to personalize the texts, you can use the <Merge tags> to personalize your newsletter, such as using the lead/donor's first name, or last name or full name or information about their donations, campaigns and forms.
You just have to select <Merge tags> in the text toolbar:

How to give style and color to your newsletter
To give color to the background of the newsletter and the center of the content, you must select column by column and go to the right panel in < Row properties>
%202.50.12%20p.%C2%A0m..png)
- Background color, is the background color
- Happy background color, it is the color of the element.
%202.52.08%20p.%C2%A0m..png)
4. Schedule shipping
With this option you can send your newsletter effectively.
You have 2 shipping options:
1. Schedule shipment %202.59.04%20p.%C2%A0m..png)
2. Send it immediately
%202.59.48%20p.%C2%A0m..png)
Finally you must verify the shipping information and finally send.
%203.00.53%20p.%C2%A0m..png)
What metrics do I view in newsletter reports?
There are two types of reports: general and specific.
General Reports
Once you enter Communications > Newsletter > you will see some general metrics of the total shipments of your newsletters.
%203.12.48%20p.%C2%A0m..png)
Such as:
Number of donations, subscriptions and inscriptions received through your newsletters. It also shows you the amount collected from these 3 types of conversion.
%203.14.29%20p.%C2%A0m..png)
You will also see:
- the number of people belonging to the segments sent
- the number of successful submissions
- open rate
- total click number
- number of conversions (donations, recurrences or registrations)
- Opt out number (people unsubscribed from the newsletter)
- Hard bounces and soft bounces.
%203.19.33%20p.%C2%A0m..png)
Specific reports
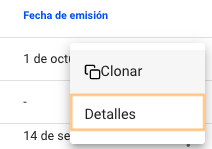
In afrus you will be able to see the metrics of each newsletter, you just have to go to the newsletter list and click on the 3 side points of the corresponding newsletter, in the Details option:
%203.28.51%20p.%C2%A0m..png)
1. Once you enter the details, you will see the newsletter metrics panel, first you will see the sending data:
- Internal name of the newsletter
- sender email
- sender name
- affair
- segment total
- segment label name
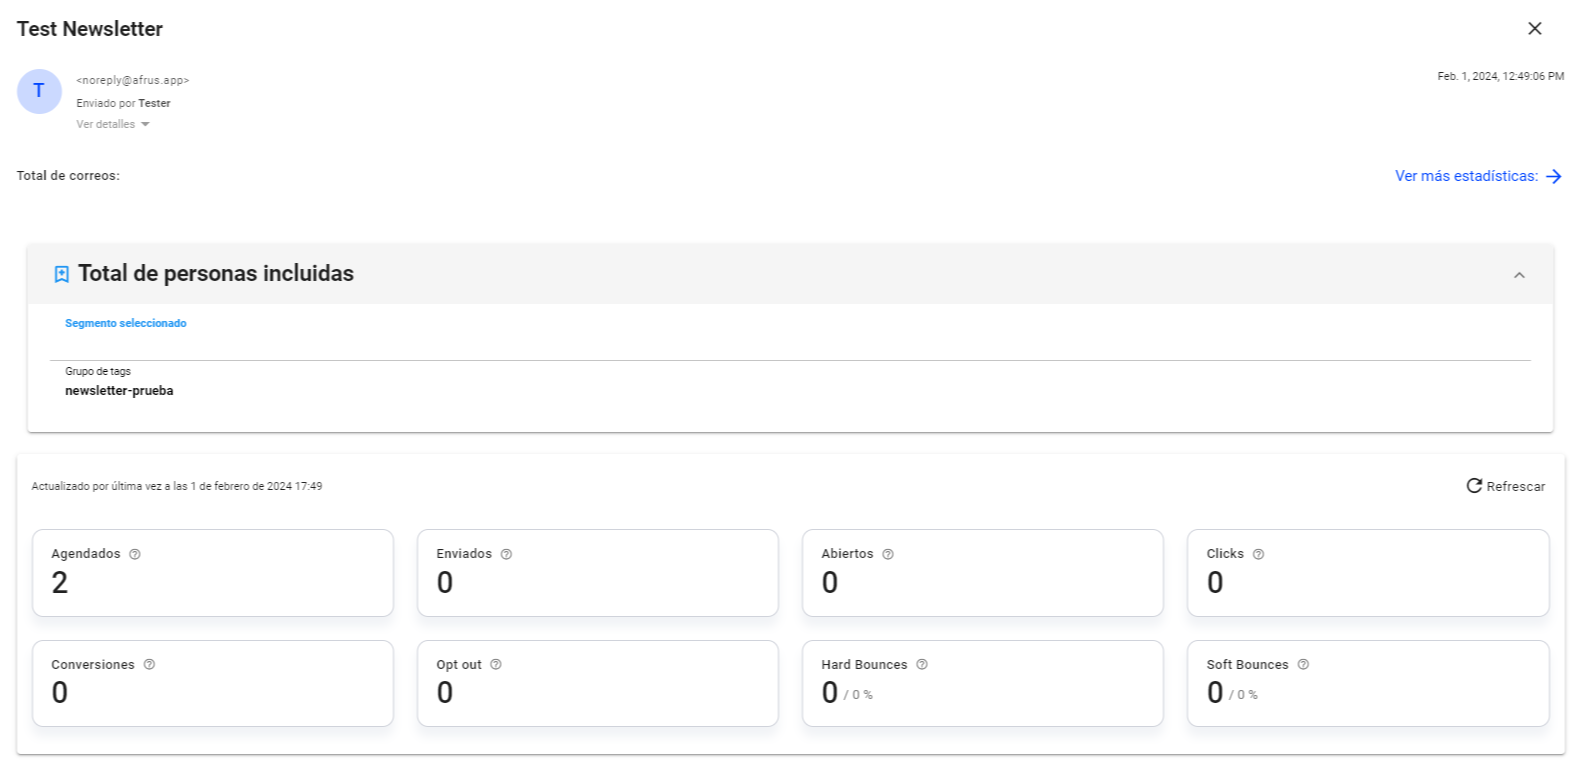
2. Below you will find the shipping metrics:
- the number of people who belong to the segment sent
- the number of successful submissions
- open rate
- total click number
- number of conversions (donations, recurrences or registrations)
- Opt out number (people unsubscribed from the newsletter)
- Hard bounces and soft bounces.
%203.38.29%20p.%C2%A0m..png)
4. You will be able to view the design of your newsletter:
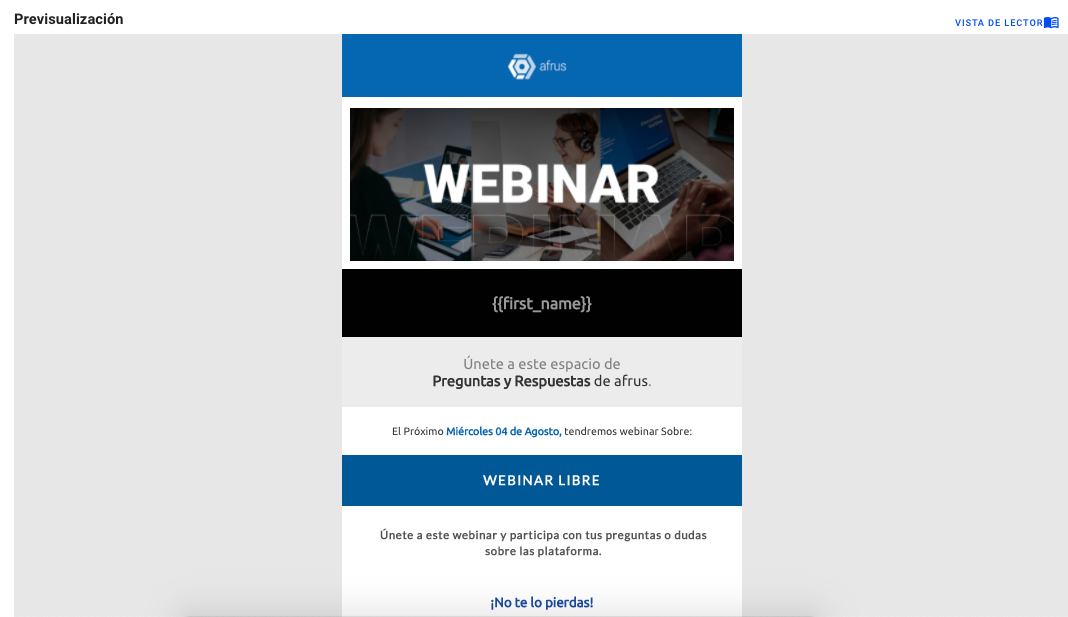
5. To see the total newsletter statistics, click <see more statistics>
then you will see the following metrics:
Conversions
You will see:
- The number of conversions (donations, recurrences and lead registrations)
- The amount raised for each conversion (donations, recurrences and lead registrations)
- The percentage of each conversion (donations, recurrences and lead registrations)
%204.12.23%20p.%C2%A0m..png)
You will also be able to see the list of leads or donors who have donated or have subscribed or registered through the newsletter.
%204.12.23%20p.%C2%A0m..png)
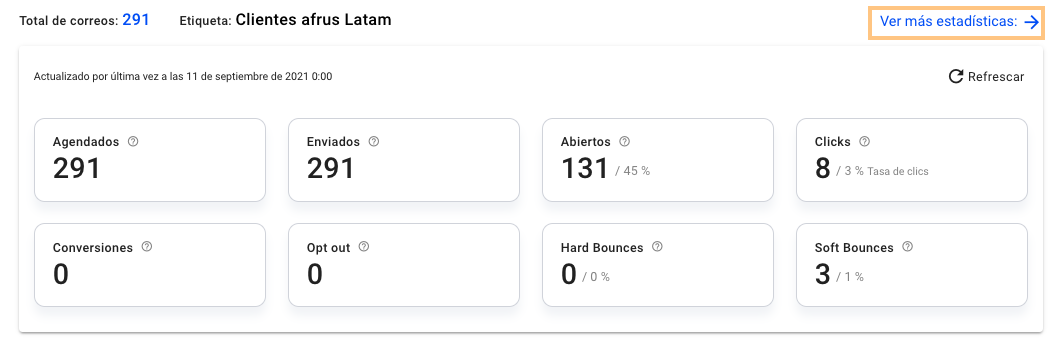
Mail and e-mail statistics
In this part you will see two columns, the email statistics (left):
- the number of people who belong to the segment sent
- the number of successful shipments
- open rate
- total click number
- number of conversions (donations, recurrences or registrations)
- Opt out number (people unsubscribed from the newsletter)
- Hard bounces and soft bounces.
%204.22.40%20p.%C2%A0m..png)
and email events (right) events are each action that the lead/donor performs regarding the newsletter, for example: opening it, reading it, clicking it, or unsubscribing.
%204.30.25%20p.%C2%A0m..png)
Every time you select a statistic, for example: Clicks, in the email event, you will see the list of people who clicked on the newsletter
%204.33.24%20p.%C2%A0m..png)
If you want to see more about the details of the list of people, click on <See more>
When you enter you will see the list of people, their name, email, event status, event date.
%204.30.39%20p.%C2%A0m..png)
You can see the details of the event for each lead/donor by clicking on the right side arrow: 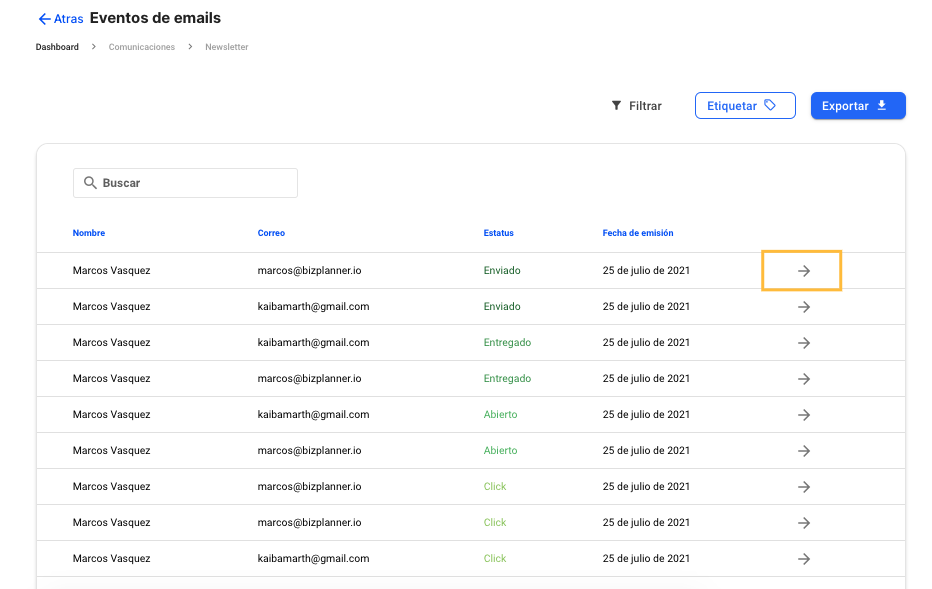
%204.31.08%20p.%C2%A0m..png)
On this screen you can export the list of people, in a csv or xlsl file:
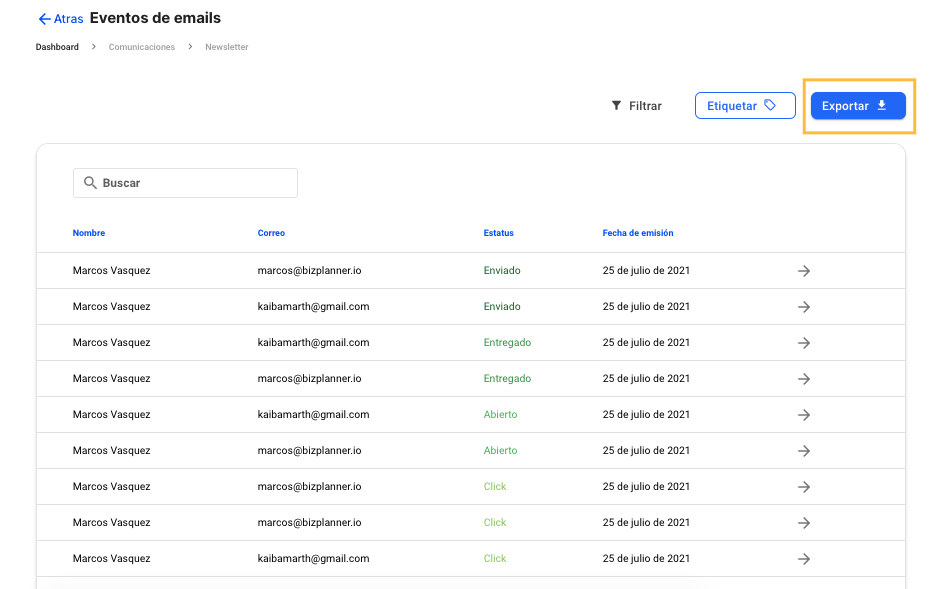
or you can also tag this group of people by clicking < Tag > 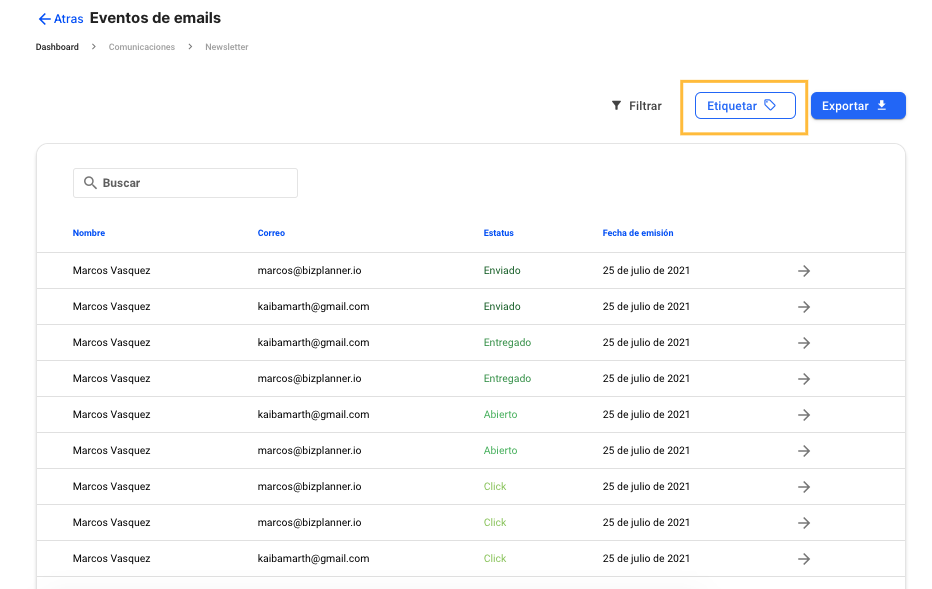
You can select an existing tag or you can create a new one: %204.30.48%20p.%C2%A0m..png)
%204.30.56%20p.%C2%A0m..png)
We invite you to watch the following webinar that will help you understand
How to use afrus for your email marketing strategy?